Lightroom Wedding Photo Editing in 2025: Complete Guide
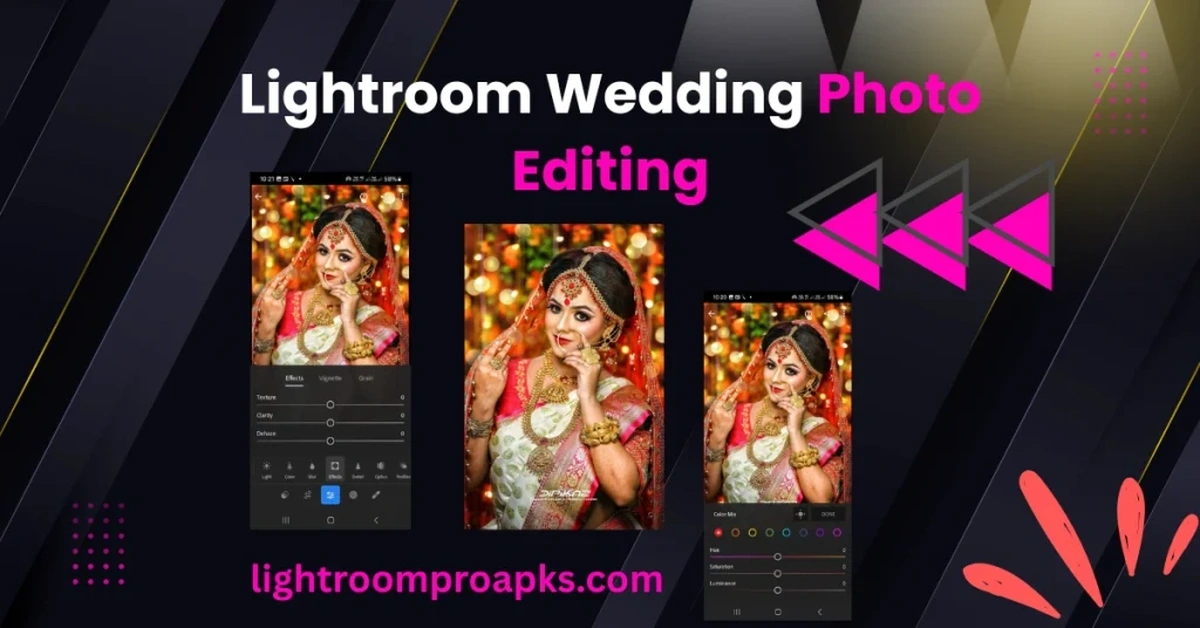
Editing wedding photos on the go has become a huge part of my workflow as a photographer, and Lightroom has been the key. With the Adobe Lightroom Mod APK Mobile, I can edit right from my phone or tablet, adjusting lighting, fine-tuning colors, and fixing composition with ease. When I’m jumping between events or need to send previews to clients quickly, mobile editing helps me stay efficient. I love how I can make quick changes that still improve the quality of my shots. This kind of setup not only saves time but also boosts my overall workflow. Lightroom Wedding Photo Editing has truly transformed how I manage post-production on tight schedules. Whether you’re just starting with wedding photography or already deep into the field, getting comfortable with mobile tools can truly make a difference.
Essential Tools for Professional Results
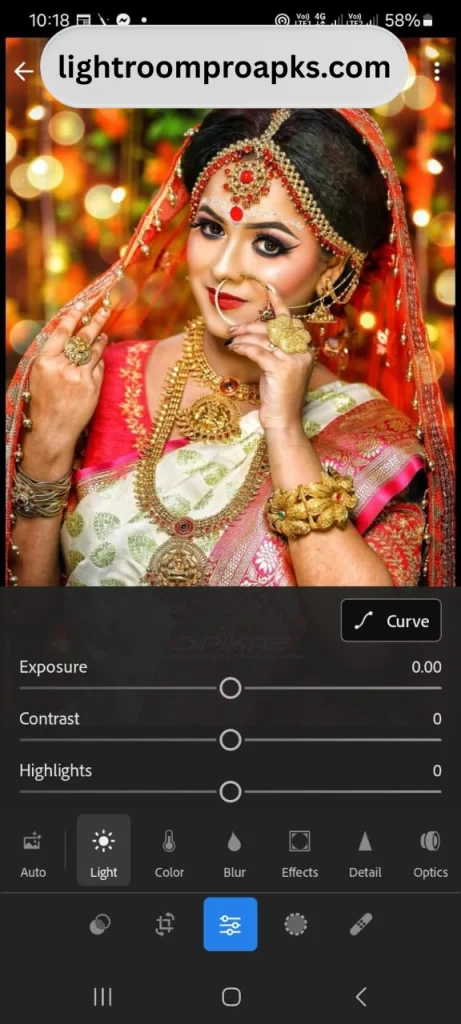
When I first started wedding photo editing, I didn’t realize how much easier it could be with the right tools. Lightroom Mobile offers all the essential features needed to produce professional-quality edits. I always start with adjustments like exposure, contrast, highlights, shadows, whites, and blacks to shape the base of the image.
Color Grading for Style and Tone
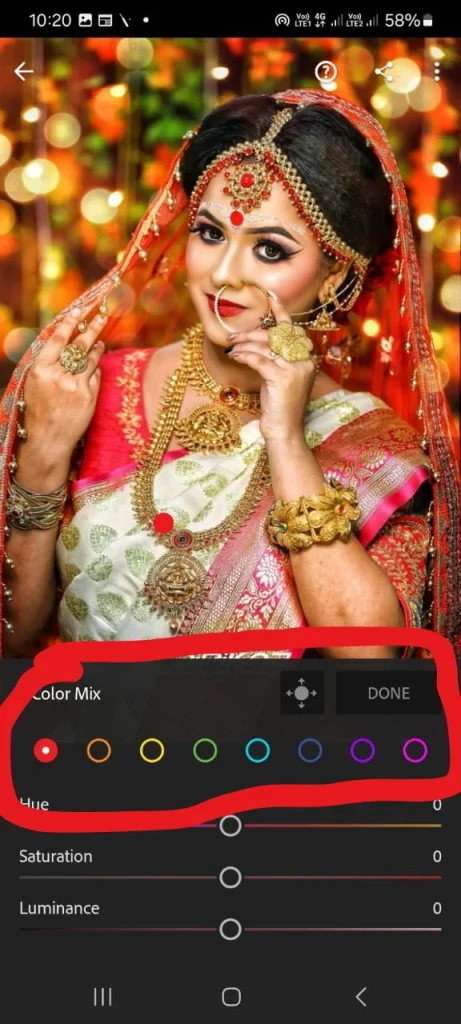
Next comes color grading, which allows me to shape the mood of the photo. I adjust saturation, luminance, and hues carefully to give my work a rich, polished look. These small tweaks really bring out the tone and personality of the moment.
Remove Distractions and Enhance Details
With tools like healing and brush, I can easily begin removing background distractions and enhancing important details. It helps keep the focus exactly where I want it on the couple and their story.
Presets and Profiles for Speed and Consistency
Finally, I rely on presets, profiles, and styles to make sure my images look consistent. With a single tap, I’m applying the same professional finish across the whole set. These steps not only save time but help me work more efficiently, even on the go.
Best Practices for Mobile Editing Workflow
When i am doing Lightroom Mod APK Wedding Photo Editing, I follow a few best practices that really help improve my workflow and overall efficiency. I start by organizing my photos into albums and using flags to sort important images. This step helps me stay focused when I edit in batches, especially when I need to apply the same adjustments to multiple files for visual consistency.
Smart Editing Techniques
One of the most valuable things I’ve learned is to rely on non-destructive editing, which gives me the flexibility to revert changes if needed. I also leverage the sync feature to keep my edits seamlessly connected across devices. Whether I’m on my phone or switching to my desktop, the ability to move back and forth easily saves time and keeps my work flowing smoothly.
Also Read: Comparison between Lightroom vs Darktable
Creating a Cohesive Wedding Photo Style
Building a consistent editing style is key to strong storytelling in any wedding album. I always start with a defined color palette, which gives me direction for the entire edit. Then, I apply my go-to presets to give all images a unified base and fine-tune from there.
Matching Exposure and Tones
To keep things visually smooth, I adjust exposure, contrast, highlights, shadows, and other tones to make sure they stay similar from image to image. This step really enhances the emotional look of the final album.
Harmony Through Details
Finally, I maintain a harmonious feel by checking that each photo flows well with the others, creating not just beautiful pictures but a full story in every collection.
Adjusting Lighting and Color Balance
When working on wedding photos, I always focus on precise adjustments to improve overall image quality. One of the first steps I take is to recover details lost in either the highlights or shadows, which helps restore balance in tricky lighting situations.
Correcting Skin Tones and Backgrounds
Next, I use white balance correction to make sure skin tones look accurate and natural, especially against neutral backgrounds. This step is key to keeping the colors in harmony across the gallery.
Tone Curve and Contrast Control
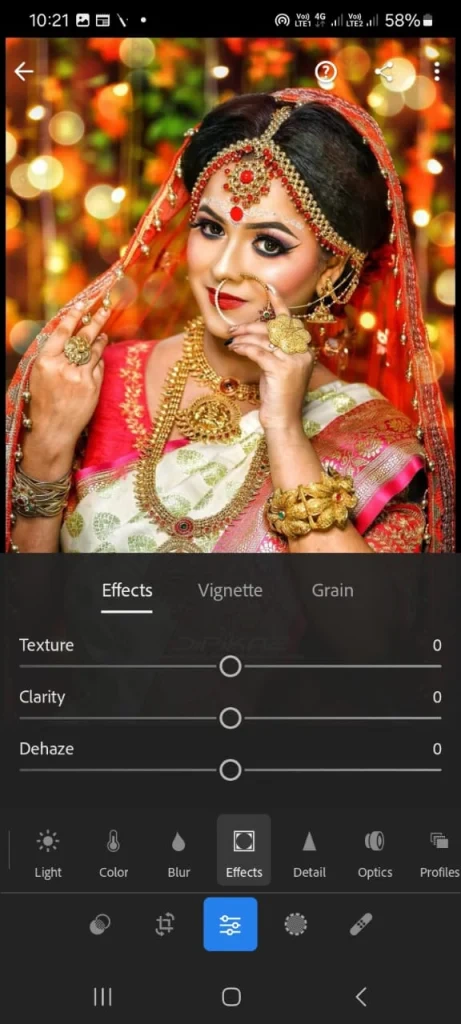
To give my images a polished and cinematic feel, I rely on the tone curve to fine-tune the contrast, adjusting the tones and balance subtly. These changes add depth and style, creating a soft effect that clients always appreciate.
Cropping and Framing for Impactful Images
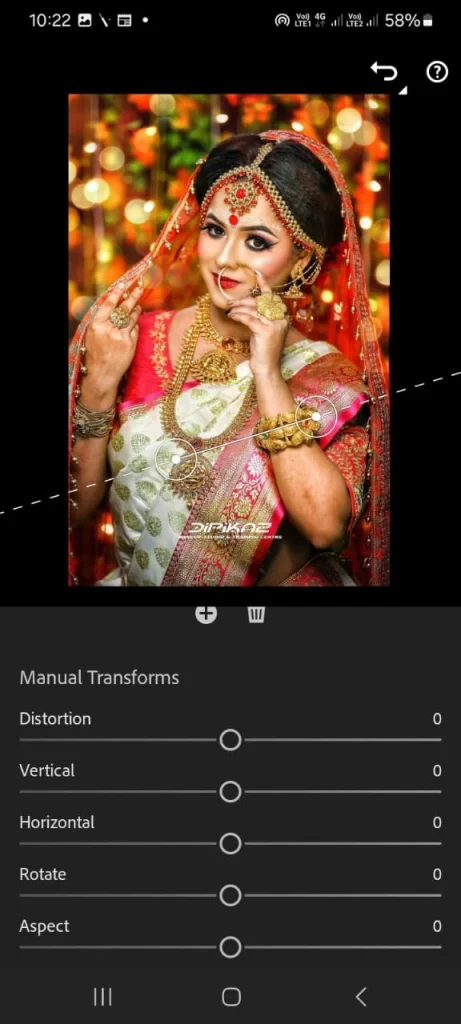
To make wedding photos truly stand out, I always start by working on the composition of the images. Using the Rule of Thirds helps me align subjects in a way that feels more natural and visually balanced.
Straightening and Polishing the Frame
I often notice tilted horizons in raw shots, so I make sure to fix and straighten them. This small step gives the image a more polished look, especially when the backgrounds are kept clean and level.
Removing Distractions and Focusing on Emotion
Next, I go into cropping to remove unnecessary elements and clear out distractions. This helps to focus the viewer’s eye on the emotions that matter. Whether it’s a tight crop or a subtle shift in framing, these details make the photo more impactful.
Utilizing Presets for Quick Enhancements
One of the biggest time-savers in my Lightroom workflow is using presets. They save me so much time and help keep my edits looking clean and consistent, especially across a full wedding gallery.
Custom and Premium Preset Options
I often create custom presets tailored to my signature style, but I also use premium ones when needed. These are usually professionally designed and available for purchase, though you can often find some as a free download as well.
Tweaking for the Perfect Match
The key is tweaking the intensity of each preset to match the unique lighting conditions and needs of every photo. Whether you’re working in different environments or just want to fine-tune your work, being able to adjust each element is essential for a high-quality finish.

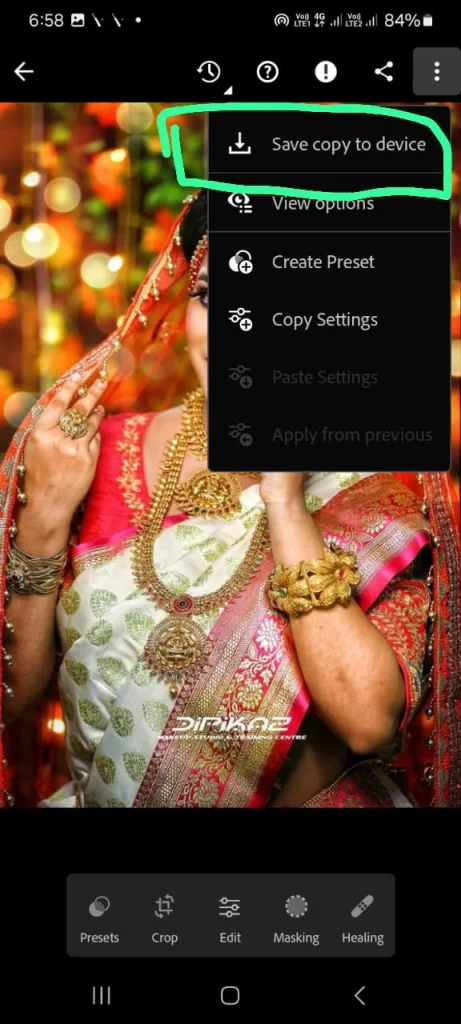
Sharing and Exporting Photos Efficiently
Once the editing is done, getting your photos to your clients in the right way is just as important. I always aim to optimize delivery by choosing the right format and resolution based on the purpose.
Exporting for Quality and Print
For social previews or digital use, I typically export in JPEG at high quality so the files stay sharp and load fast. For print, I go with TIFF to ensure every detail is preserved.
Protecting and Branding Your Work
To protect my work, I add subtle watermarking with personal branding. It’s an easy way to show ownership while keeping the image clean and professional.
Fast Client Sharing with Cloud Tools
For fast and efficiently managed handoffs, I rely on Lightroom’s cloud sync or share directly via Google Drive. This makes sharing easy and ensures quick access for every client.
Final Words
When I started mastering Lightroom Wedding Photo Editing for mobile, it completely changed how I work. Being able to edit and deliver stunning photos faster has not only helped me impress clients, but also allowed me to grow a stronger portfolio. I’ve learned the value of maintaining consistency by refining my workflow and leveraging the right tools to enhance each photo. Whether I’m working from home or traveling, I can get professional-grade results anytime, anywhere. This flexibility keeps me sharp and helps me stay ahead by always producing powerful, client-ready work.